

The RRRRP, Required Republican Roman Revitalization Project, is in early stages. Like many historical gamers, I suspect I have a love/hate relationship with plastic figures. For years I've been hoarding some (my inventory says 323) early Wargames Factory Ceasarian Romans and a handful of Gauls. My intention in buying them was more supportive than anything else. I wanted to encourage the production of cheaper historical figures even though the sculpting was sub-par to the best of the metal Romans available at the time. I painted up about 100 of the figures and based them for Impetus which was in vogue at the time. But, as is usual for me, they never really saw action on the table. Still, the Wargame Factory Ceasarian Romans are very serviceable figures and they did pave the way for the wide selection of excellent historical plastic figures available 20 years later. Lately, I've found the motivation (mostly from playing Midgard) to finally do something with them.
I wanted to host a Midgard game and realized that without too much preparation I could field 300 points of Wargames Factory Romans vs. 300 points of Old Glory Gauls. So, the first mini-project was to complete some unpainted WF Gallic figures to use as Heroes in Midgard.
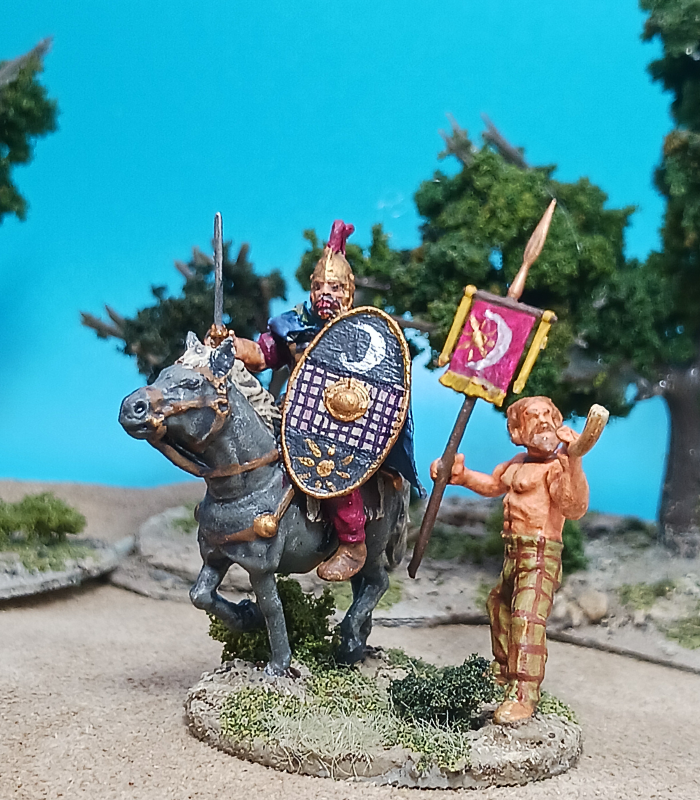
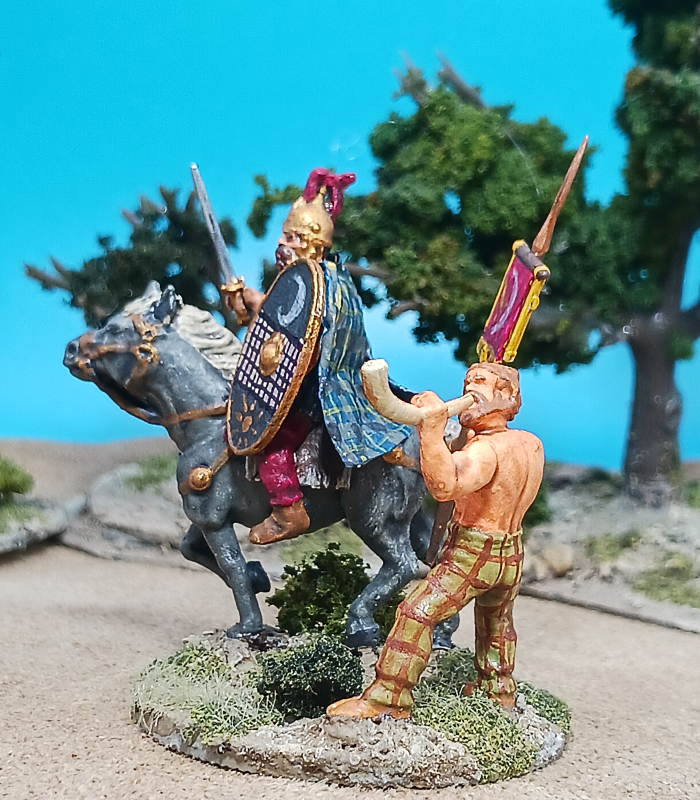
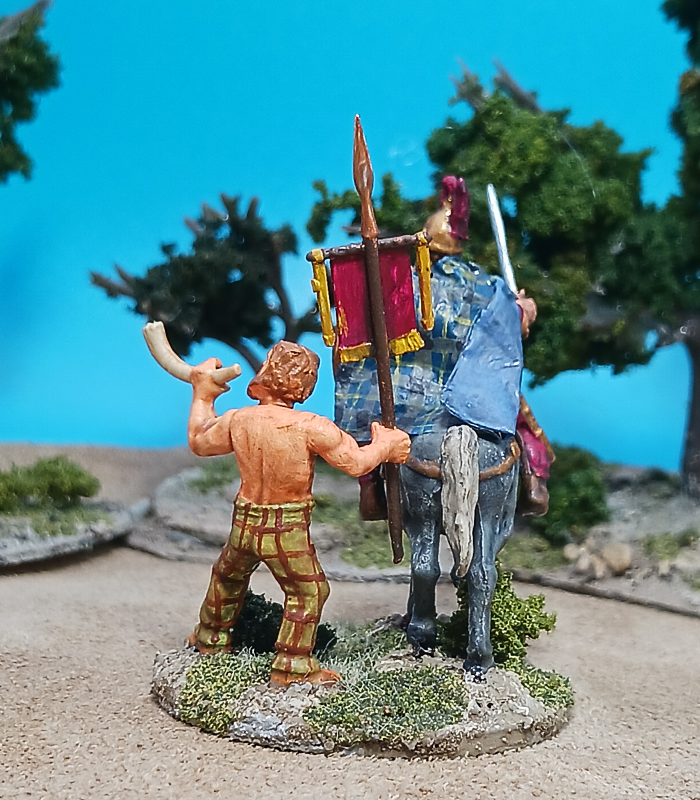
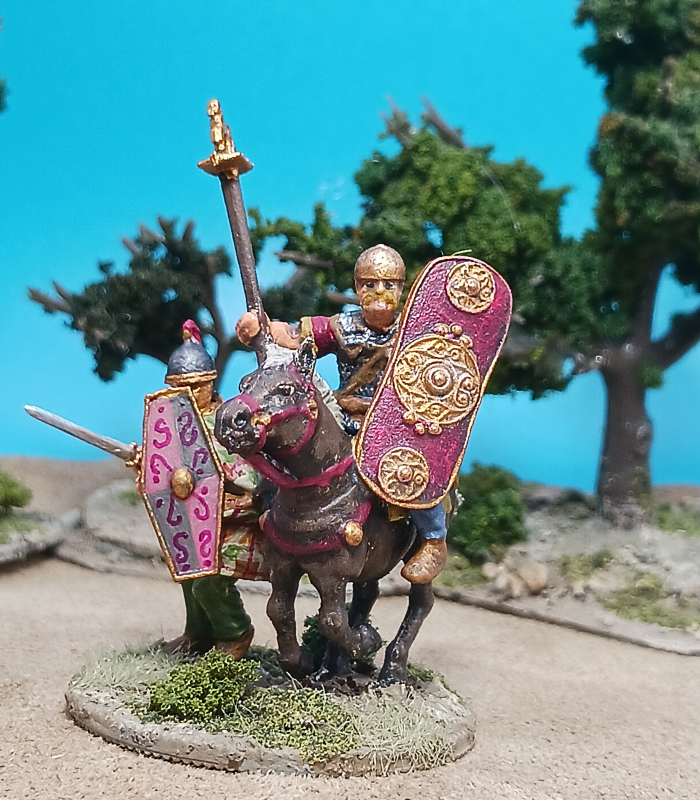
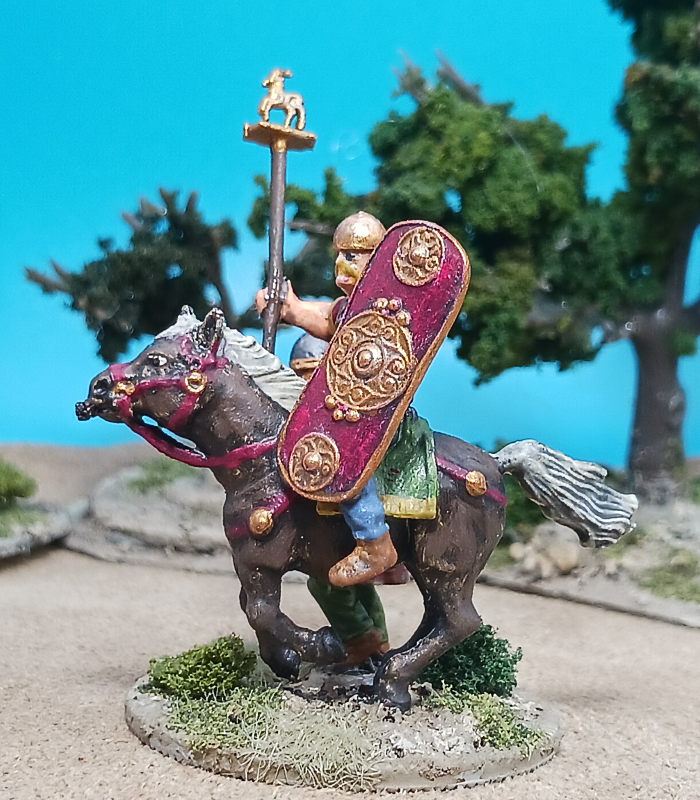
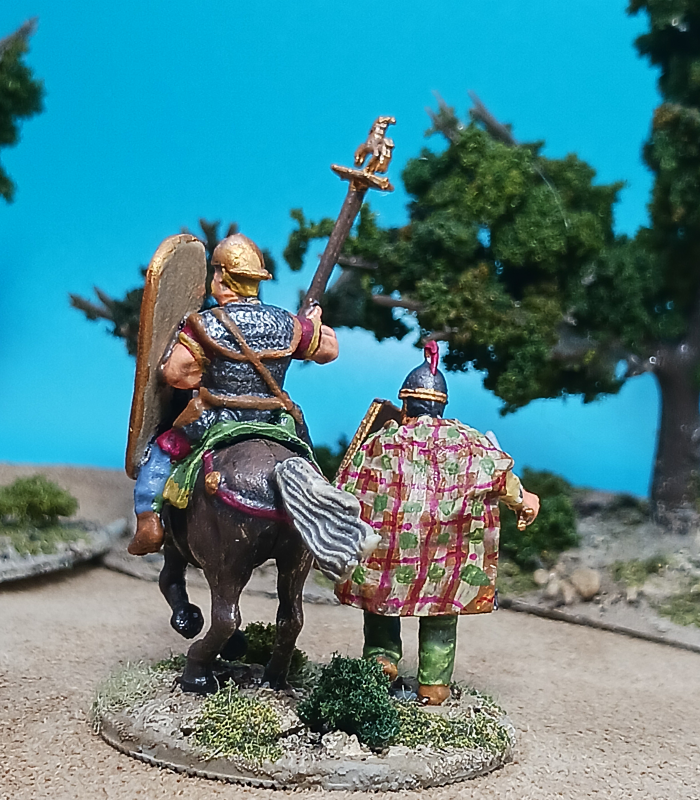
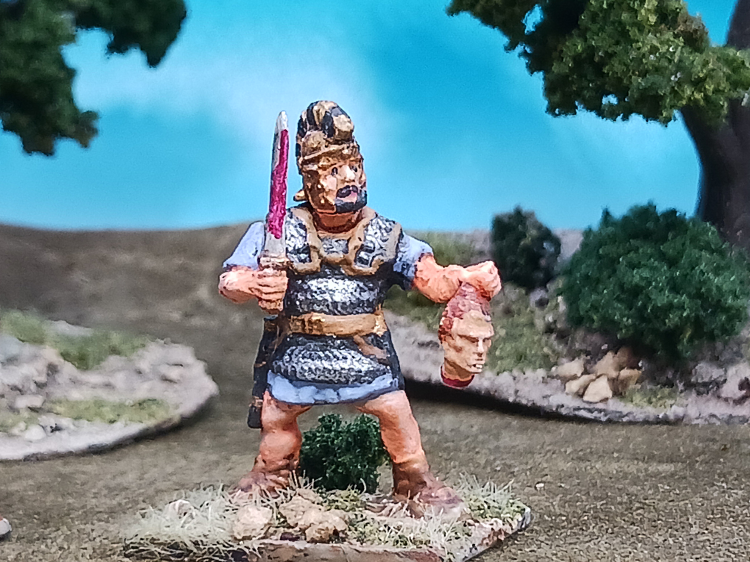
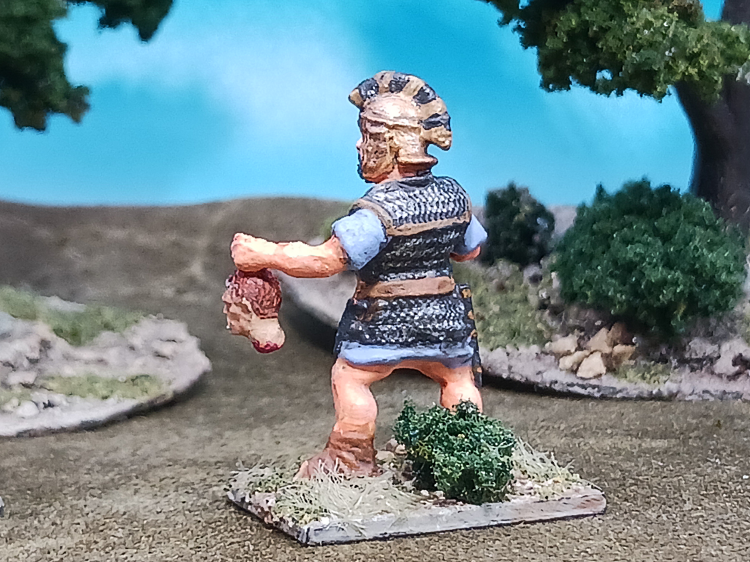
While the newly minted Gallic Heroes were mightily smited by the Romans (e.g., I lost miserably!) it has spurred me to field even more Romans and try a multi-player Midgard game. I spent a couple of days cutting 200+ Roman bits off the sprues and cleaning up the separate heads, torsos and limbs. Starting slow, and to re-familiarize myself with the figures, I did a test figure. The best thing about plastic figures is the ease of customization and the extra bits that inevitably come with the figures. So instead of the traditional scutum, my first newly painted Roman Legionary carries a severed Gallic head. Quite representative of my fate playing the Gauls in the last game, now that I think about it.
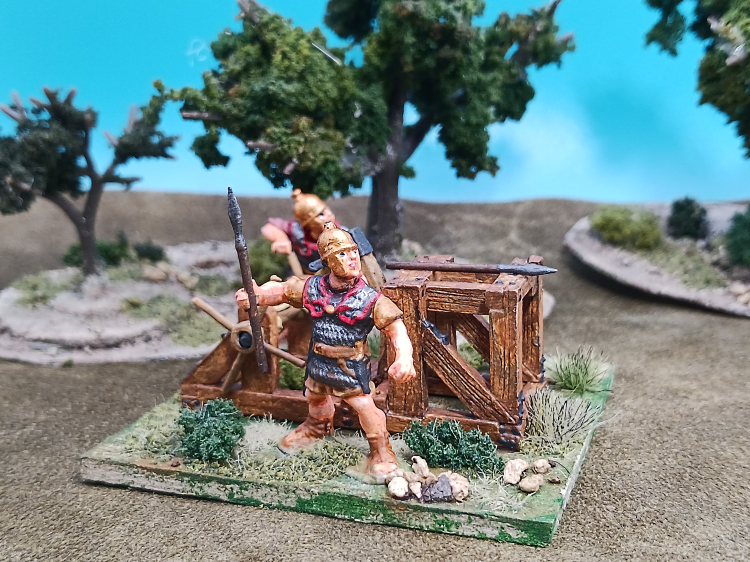
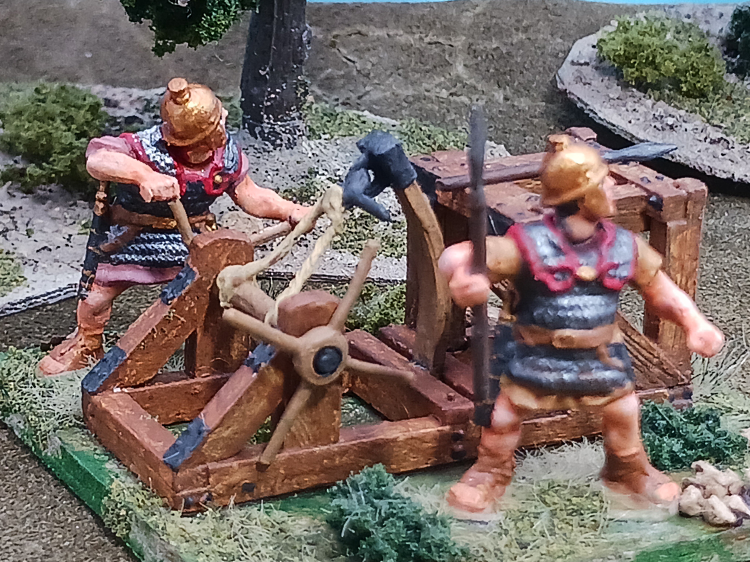
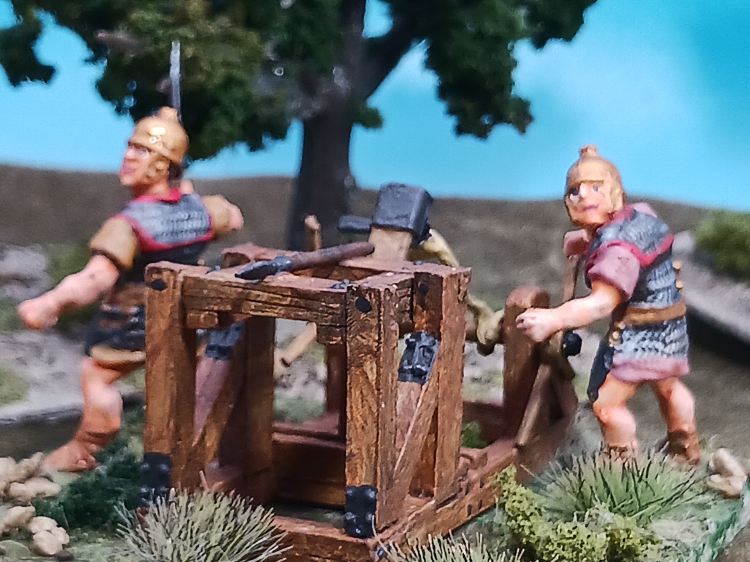
I'm quite pleased with this figure and it put me into a customization frame of mind. While digging the figures out of the pile-o-shame/potential I rediscovered an old, unpainted RAFM 'springal' artillery piece which I believe I purchased in the early '90s. It did not come with a crew. So, I thought since I had so many easily customized Romans.... In retrospect, I'm not sure the Romans used artillery of this type. In fact, the earliest representation of a 'slap torsion' device I can find dates to the early 15th century CE. But then... we know so little of ancient artillery and it was so easy to modify one of the figures to turn the crank.
Since the WF figures are a little soft on details I wanted to do something to give them some pizzazz and the most likely area to do that was the shields. On the previously finished figures I had painted the shields a solid color with little adornment. While I like the look of shield transfers, I've never been successful with them mostly due to my own clumsiness. This uncovered an age related problem as the original WF shield decals were no longer usable. They simply tore apart when trying to remove them from the paper backing--who knew 20 year old decals would loose their integrity! But to be honest, I wanted more variety rather than the very common red shields decorated with Jupiter's thunderbolts and the wings of Victory. My 60-something eyesight and hand-eye coordination are simply not up to hand painting 200+ customized Roman scuta. What to do, what to do? Could I make my own transfers with material on hand?
Why, yes I could!
Slipping into experimentation mode I perused the internet to find appropriate Roman-style shield designs. I redrew them in Inkscape, an open source vector graphics editing program while measuring the old WF transfers to get the right proportions. The shield transfers were color laser printed on regular 20# printer paper. Printer toner is essentially a plastic-like powder that is melted ONTO the paper--it does not soak INTO the paper like inkjet ink. Consequently, toner has a tendency to chip off the paper if stressed, such as cutting or folding. At this point some of the tricks of paper modeling came into use. To prevent toner chipping, I brushed a light coat of acrylic floor wax over the prints and let them dry for a good 24 hours. Cutting even slightly moist paper simply results in ragged, torn paper. Once the prints had thoroughly dried, I used the sharpest blade I have--a fresh surgical scalpel--to carefully cut out the shield bosses and splines. (BTW, surgical scalpels are much sharper and considerably less expensive than X-Acto and other hobby blades. Scalpels do require a special handle and they are more brittle than hobby blades. You will quickly break the point off--though the edge remains sharp much longer. Nevertheless, scalpels are far, far better than the typical hobby blade and well worth the minimal investment.)
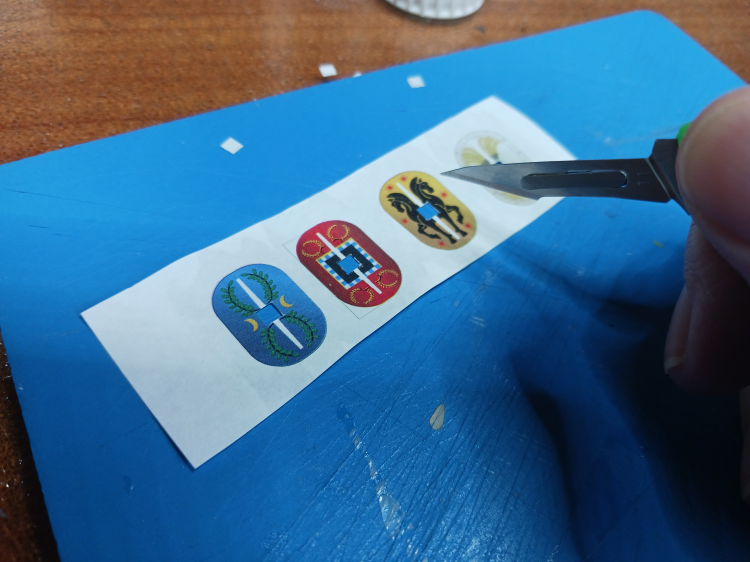
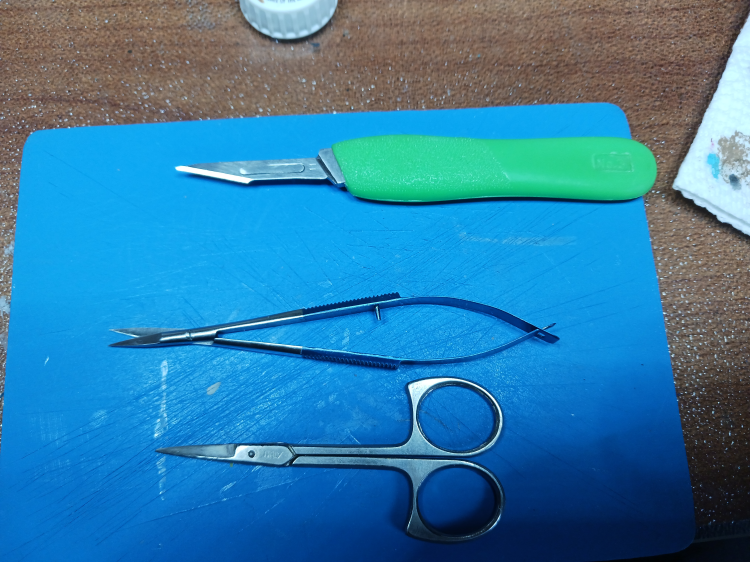
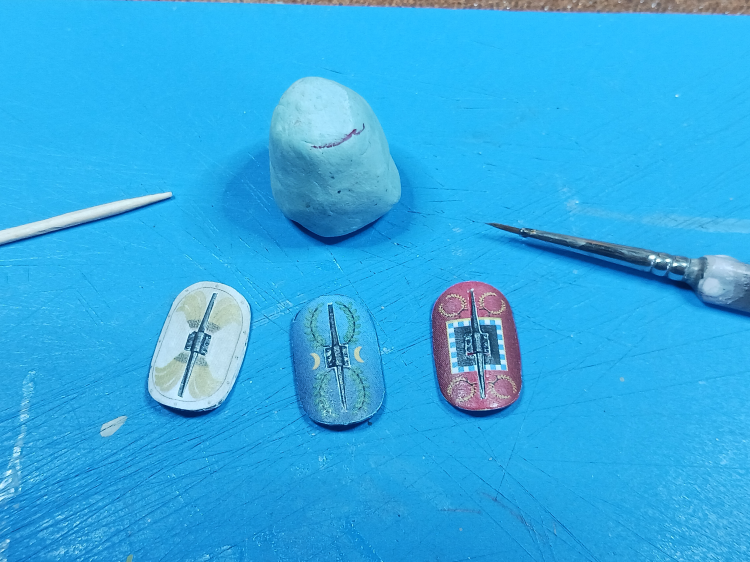
Each shield was then cut from the sheet using small scissors, including a pair of curved cuticle scissors which enabled cutting around the curved top and bottom of the designs without distorting the paper. Aleene's Tacky Glue was used to attach the paper transfers to the plastic shields. The point of a toothpick was employed to press the transfer snugly along the bosses and splines and the shield edges were burnished to ensure the edges of the transfer were flat against the shield. The plastic shields had previously been painted with the base color of the design. You might think that painting the shields would be unnecessary as they are entirely covered by the transfer. However it is important because the paint provides a good surface for the glue. Aleene's and other PVA glues tend to bead up on bare plastic--especially if diluted--and don't provide good coverage. I suppose you could use super-glue, but using PVA gives you more time to position the transfer accurately.
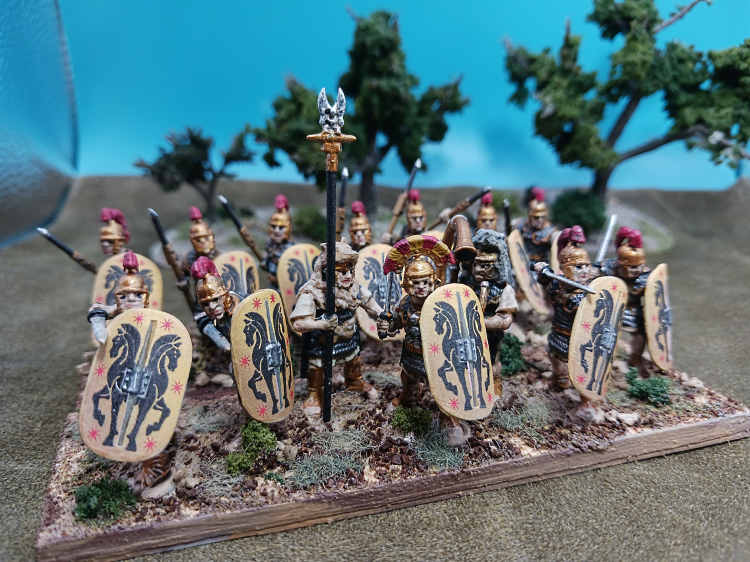
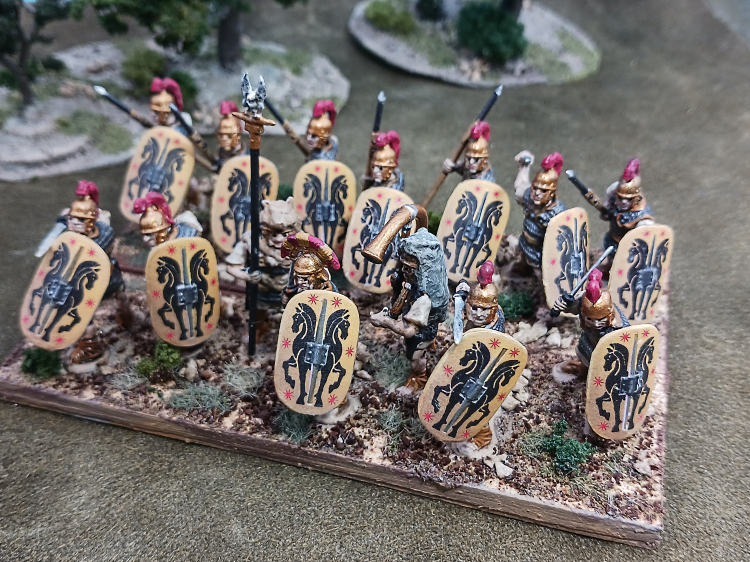
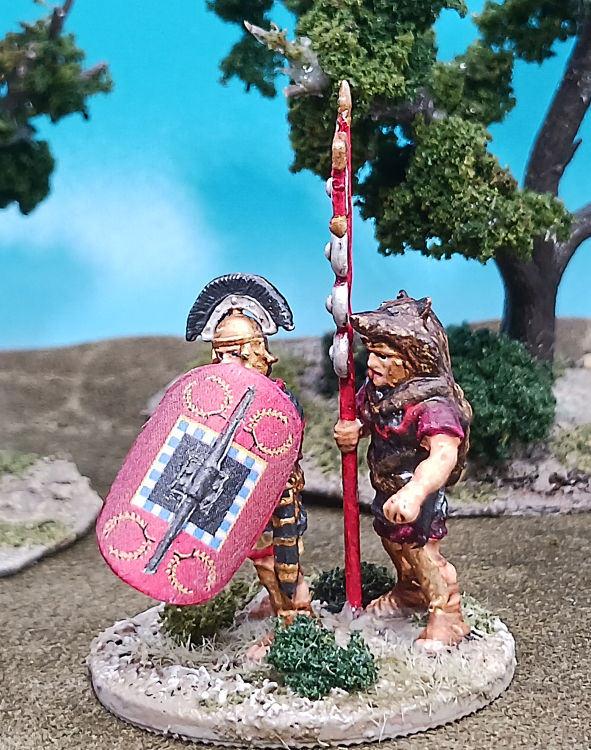
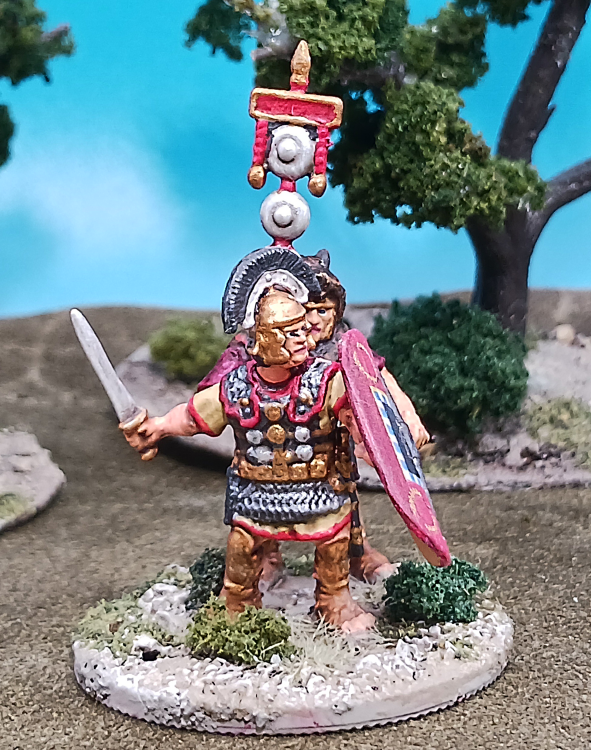
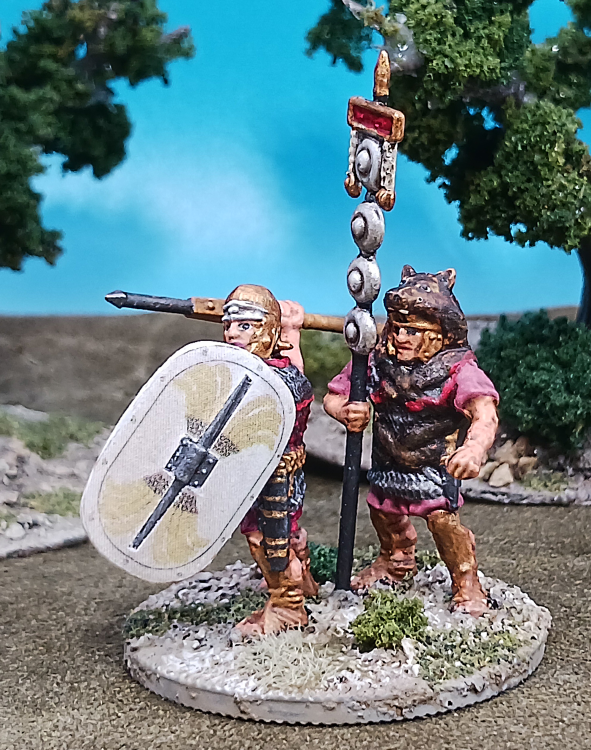
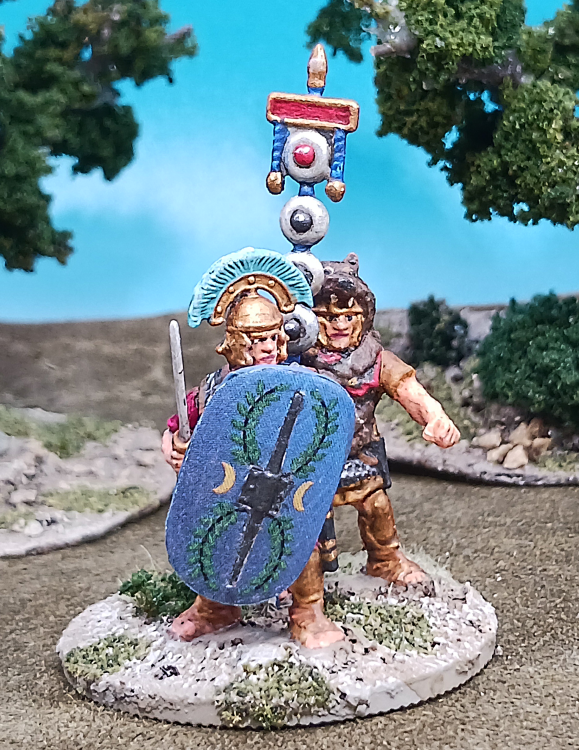
A little bit of touch-up paint was necessary to camouflage the white edges of the paper along the cuts. Finally, the shield was given a coat of flat varnish. While the entire shield process is fairly labor intensive, I am mightily pleased with the results. I think they bring a whole new level of visual interest to the Wargames Factory Romans.
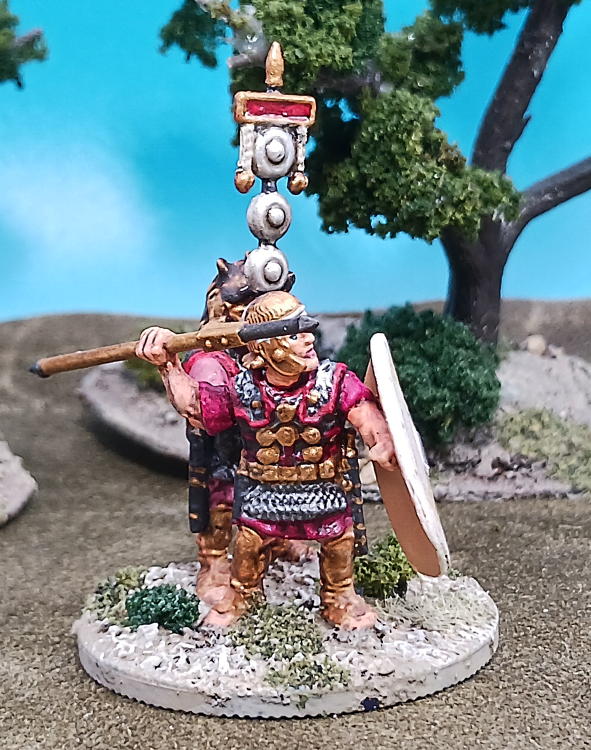
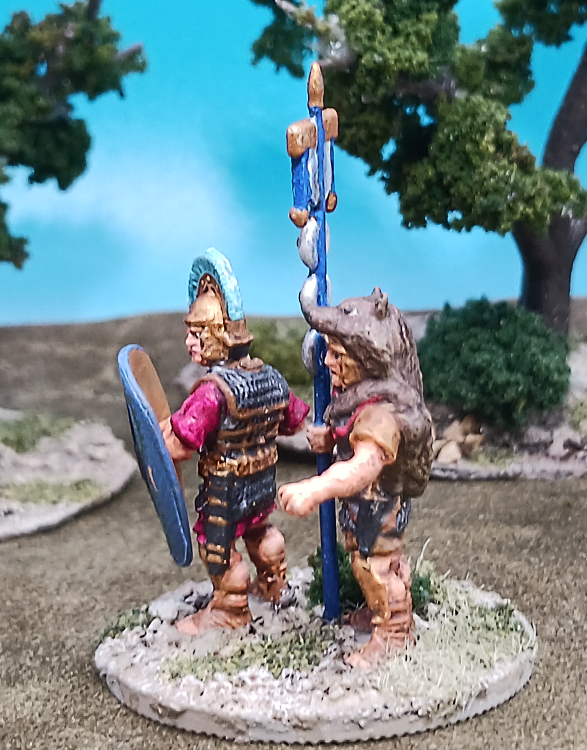
Next, I decided that I would paint up some Hero stands for the Ceasarian Romans so I wouldn't have to press my earlier Punic War officers into service. Again, I was very pleased with the way these turned out. I think I'm ready for mass production!
Powered by Bestatic | © Copyright Jeffery S. Koppe | CC-BY-SA 4.0 License.